Are you getting error messages such as “Allowed memory size exhausted” when using WordPress? If so, you may need to increase the WordPress memory limit.
Fortunately, there are a few simple steps you can take to increase the memory limit and ensure your WordPress website is running smoothly.
With a few tweaks in your PHP configuration file, you can easily increase the amount of memory available for WordPress operations. In this article, you will learn different methods you can use to adjust the memory limit of WordPress.
What is the memory_limit PHP setting and its role on WordPress?
PHP memory limit is an important setting for WordPress users. It is the maximum amount of memory that a script can use in order to run properly. The default setting for this limit is often too low, which can cause problems with some plugins and themes. To avoid these issues, it’s important to understand what the memory limit is and how to adjust it for your WordPress site. With the right settings, you can ensure that your site runs smoothly and efficiently without any errors or slowdowns due to insufficient memory resources.
Increase WordPress Memory Limit in Server Avatar
Server Avatar is an innovative self-managed cloud hosting platform for WordPress. It provides users with a secure, reliable and cost-effective solution for hosting WordPress websites on dedicated servers such as Vultr, Digital Ocean, Amazon Lightsail, Hetzner and Linode.
With Server Avatar, users have the ability to easily configure their server settings, manage plugins & themes, and access advanced analytics tools.
This platform offers users a complete solution for managing their WordPress sites without the need of an IT expert.
To increase WordPress PHP memory limit in Server Avatar:
- Go to servers and click specific server.
- Click settings.
- Look for PHP settings.
- Under PHP settings, adjust the memory_limit to desired size.
- Click save.
Increase WordPress Memory Limit in BunnyShell
BunnyShell is a self-managed cloud hosting platform that I use to manage my personal and clients’ servers. With a single click, users can set up, configure, and manage cloud servers without any technical knowledge.
It offers features such as automated server backups, scaling of resources on demand, and a wide range of plugins to extend its capabilities. All of this makes BunnyShell the perfect solution for anyone looking to streamline their WordPress server management.
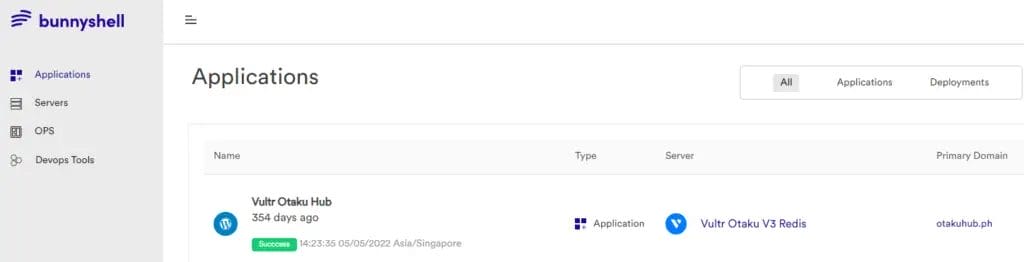
To increase WordPress PHP memory limit in BunnyShell:
- Go to applications.
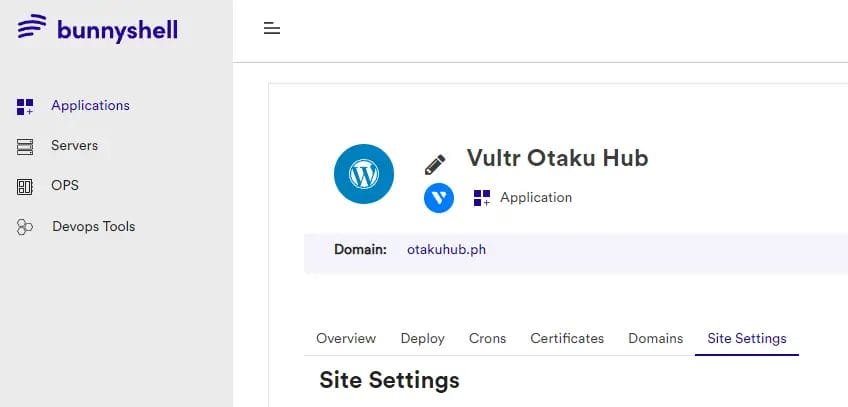
- Click your WordPress installation.
- Go to Site Settings tab.
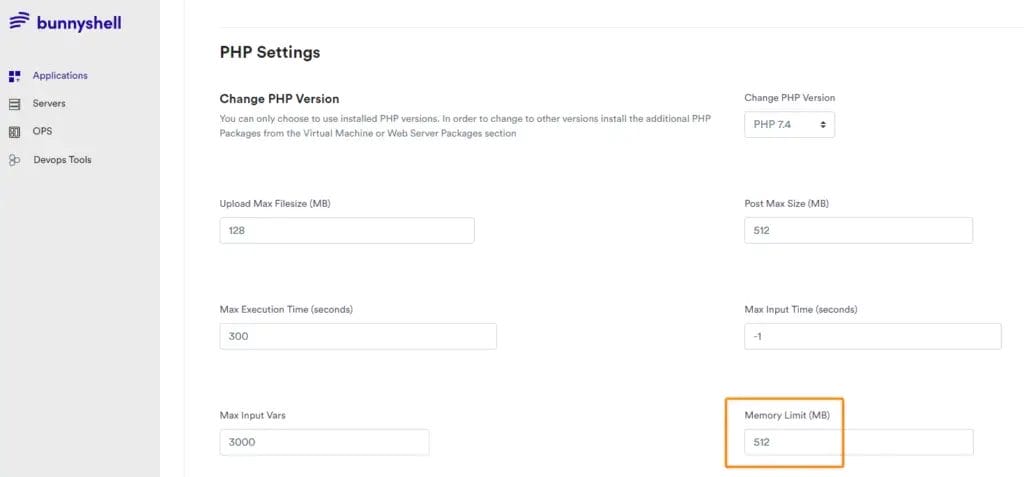
- Under PHP settings, adjust the Memory Limit (MB) to desired size.
- Click apply PHP settings.
Increase WordPress Memory Limit in WPEngine
WP Engine hosting is one of the best hosting for WordPress websites. With its powerful and secure platform, you can easily manage your website and ensure it runs optimally.

WP Engine offers a variety of tools and features to help you get the most out of your website, including automated backups, unlimited storage, scalability options, and 24/7 customer support. With WP Engine hosting, you can rest assured that your WordPress website is in good hands.
WP Engine default WordPress Memory Limit is 40MB for a single site, or 64MB for a Multisite network. These values can be easily increased to a maximum of 512MB by inserting the following lines under the “WP Engine Settings” section in your wp-config. php file: define( ‘WP_MEMORY_LIMIT’, ‘512M’);
If you are not sure where to edit this value, just message them via live chat. Give your account support pin and they will do this for you in just a few minutes.
How to Increase the PHP Memory Limit in cPanel Based Web Hosting
Increasing the PHP memory limit in cPanel-based web hosting is a simple yet powerful way to improve the performance of your website.
This can be done by editing the php.ini file or by using the cPanel’s “PHP Configuration” section. With this process, you can easily increase the memory limit for PHP scripts and help ensure that your website runs smoothly and efficiently.
Be sure to check with your hosting company the max limit that you can set, as there are hard limits, specially on share hosting environments. Some hosting providers would not allow you to touch these settings for that reason.
Follow this guide to increase the PHP memory limit in cPanel based web hosting so that you can take advantage of its many benefits.
- Login to Cpanel
- Look for Software section
- Click Select PHP version or MultiPHP INI Editor for other cPanel hosting
- Locate memory_limit and adjust value using drop down menu
- Hit save
Increase WordPress PHP Memory Limit in cPanel Based Hosting via PHP.ini
Increasing the WordPress memory PHP limit in cPanel based hosting is an essential task for smooth functioning of your WordPress website.
If the PHP version selector can’t be located on the cPanel dashboard, then you can use this method to adjust memory limit of WordPress with the help of a PHP.ini file.
This is a special file that you can create and upload to your web server for increasing the PHP memory limit for your WordPress installation. With this method, you can quickly and easily make changes to the memory limit without needing any technical expertise or coding knowledge.

Just add this line of code or replace the existing config to:
memory_limit = 128M
Where do I find the PHP.ini file?
If you are looking to customize your PHP installation, one of the first steps is finding the PHPini file. This important file contains many configuration settings that can be used to customize the behavior of your web application. This file can usually be found on the /public_html folder.
You can adjust the settings here such as memory limit, upload sizes, max execution time, etc.
Increase WordPress PHP Memory Limit via .htaccess
One of the most common errors encountered by users is the dreaded “Memory Limit Exceeded” message. Thankfully, there’s an easy solution: increasing WordPress’ PHP Memory Limit via .htaccess.
With this simple tweak, users can ensure their website runs smoothly and efficiently without worrying about memory-related issues.
Open .htaccess using file manager/editor and add the code below to the first line:
#  BEGIN Increases Max Upload Size
php_value upload_max_filesize 20M
php_value post_max_size 20M
php_value max_execution_time 300
php_value max_input_time 300
#  END Increases Max Upload Size
Increase WP Memory Limit via wp-config.php file
Working with WordPress can be time-consuming and frustrating when your website runs out of PHP memory. Fortunately, there is a simple solution to this problem: increasing the WordPress PHP Memory Limit via the wp configphp file.
- Locate wp-config file on your WordPress hosting, usually under /public_html folder and open using file editor.
- Look for a line of code similar to this – define( ‘WP_MEMORY_LIMIT’, ’32M’ );
- Replace value to 128M or 256M.
- Save file